Dark Stone
If you would rather have this tutorial in book form you can get it direct from Blurb here.
For those of you who do not wish to read the whole of this tutorial you can watch my Youtube video instead. It doesn't go into as much depth nor does it tell you my thoughts but it does the job.
For those of you who do not wish to read the whole of this tutorial you can watch my Youtube video instead. It doesn't go into as much depth nor does it tell you my thoughts but it does the job.
|
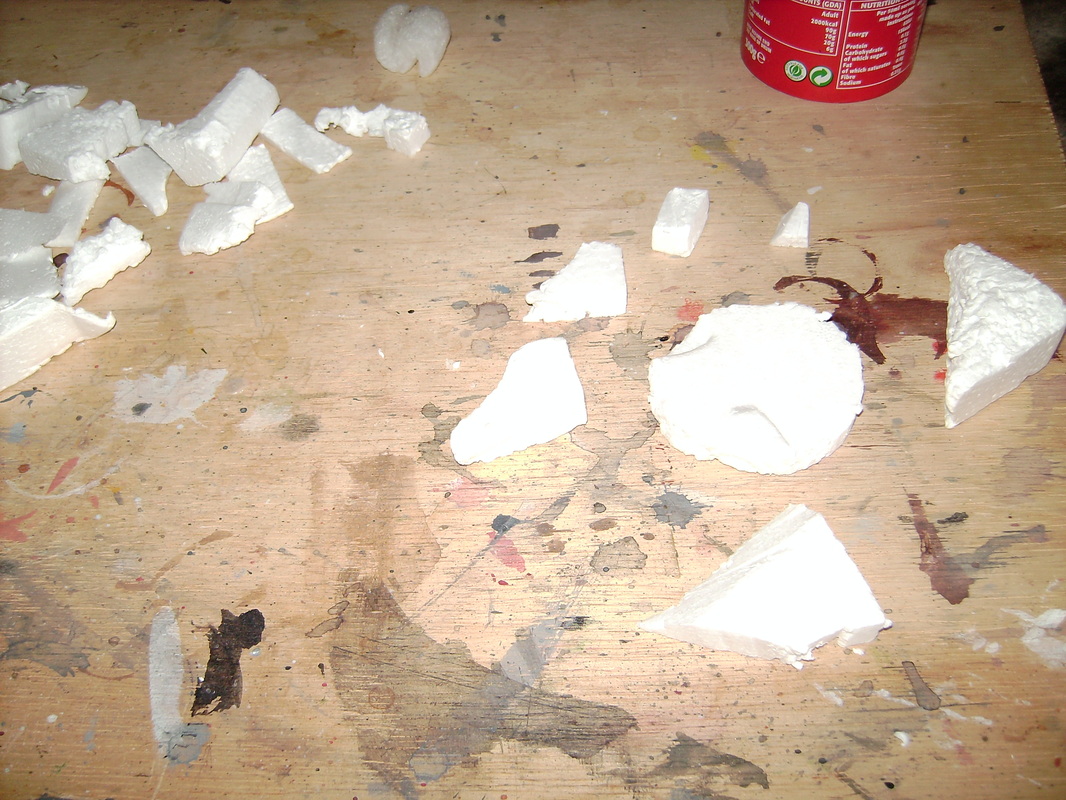
For this Dark Stone I decided to use up some off the off-cuts that I kept. The ones to the right of the picture are the ones I selected to make the Dark Stone, on the left are some of the others I have. Whenever I cut polystyrene I kept any piece of polystyrene that looks like it may have a future use, I don't keep ridiculously small pieces, but by keeping the off-cuts you can use them to make an entirely new piece.
|
|
|
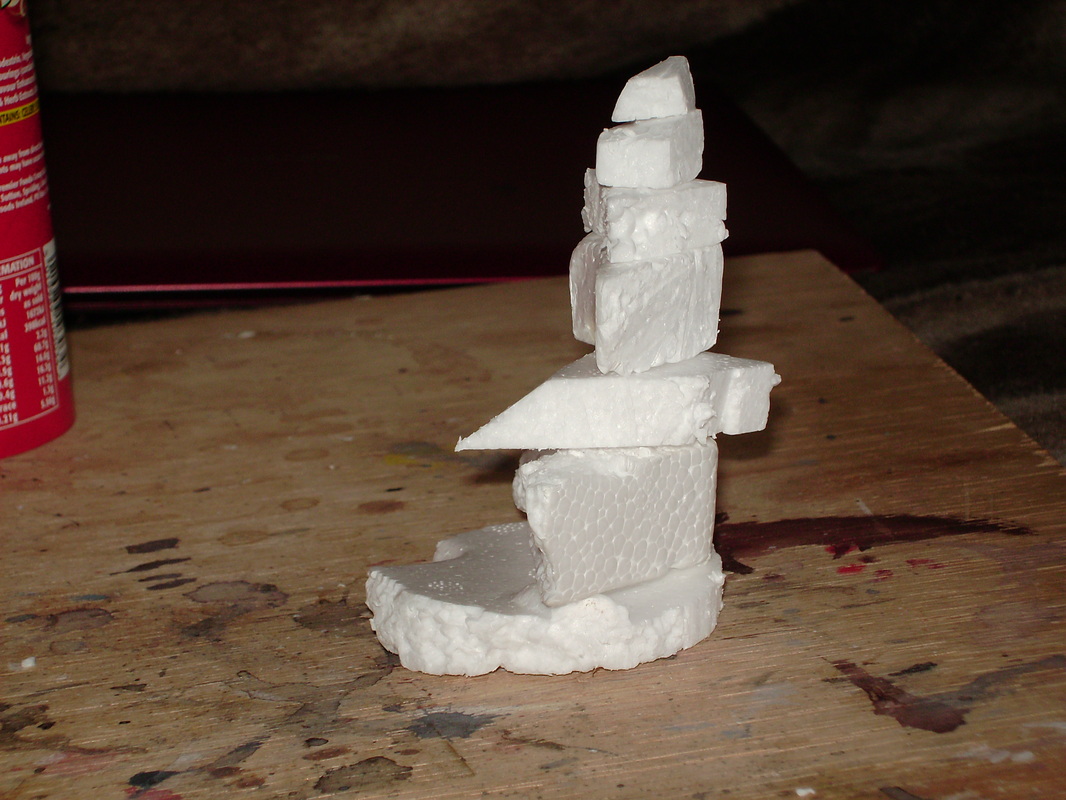
Here is what the polystyrene pieces look like stacked but not yet glued, experiment with different pieces placed in different ways. Don't think that the higher a piece gets the thinner it must be, do it in any way that you are happy with.
|
|
After getting shape you are happy with, glue your pieces together, you may find that you will need a toothpick to help hold the pieces together. Then trim the edges and create the shape of the rock you want.
|
|
|
After you have cut out the shape, coat the whole thing with a mixture of PVA glue and water (ratio of 1:2) then once dry papier mache the piece using the same PVA and water mixture and toilet/kitchen roll. You'll want at least 2 coats of this.
|
|
|
|
Once the papier mache has dried completely base coat the piece with white or black paint (I chose white) then leave to dry. Once the basecoat dried I then painted the model with Crimson paint, don't paint it on too thickly, water it down slightly and get a nice coverage all over the model like in the picture. After that I mixed the same Crimson with a touch of blue to darken the red a little then did a wash of this colour all over the model. Once the wash dried I then did a another wash, a little bit thinner than the last one consisting of Crimson mixed with black to create a very dark red.
|
|
Now that the wash has dried it's time to do some dry brushing, mix the Crimson with a little bit of black and white (or a medium grey) and dry brush over all of the raised edges and over other areas that may catch light. Then mix Crimson with an even lighter grey and highlight the areas you just dry brushed.
|
|
|
|
Here is the finished product, from all angles this model looks great and would fit perfectly on a dark, hellish, underworld style gaming table. If you made several of these and create clusters of Dark Stones you could have a truly demonic looking table.
|
|
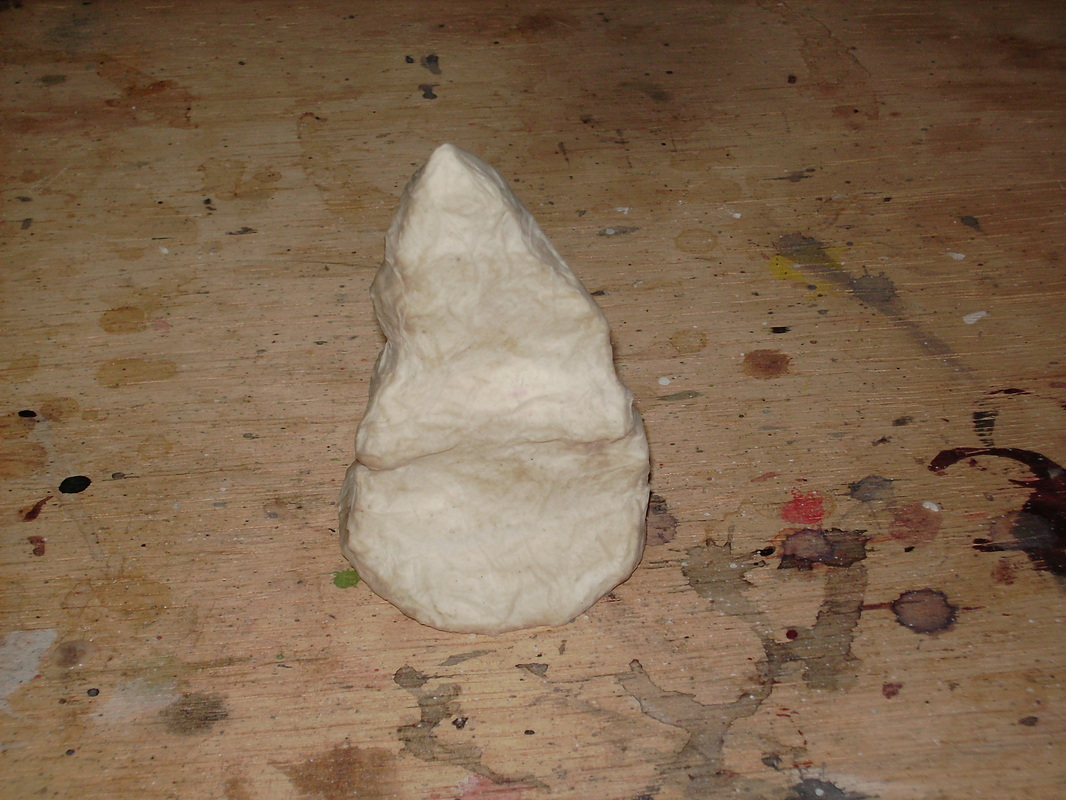
Using the same principles I have also created this piece the Dragon Fang, named so because of it's tooth-like shape. By painting it with toothy colours this piece could fit excellently in a bone yard, monster graveyard, or a cavern to which the entrance looks like the teeth of a giant monster. The main colour for this piece was Yellow Ochre.
|
|
|
|
Here you can see the difference between the two pieces and also the Sandstone Plinth (available for viewing in the Archives section. These pieces have been made in almost the same way, the differences being the shape and colour. Just imagine the Sandstone Plinth painted in a similar fashion to the Dark Stone, it would be awesome!
|
